
Home / Gift guides / Digitise old photos
Photo Book TipsHow to Digitise Old Family Photos for a Photo Book
To turn old family photos into a photo book, scan each print flat at 600 dpi (300 dpi for larger prints), save the scans, name them with a date and a place, and gather the stories before you design a single page. A flatbed scanner gives the best result, and a phone app is a fair second choice.
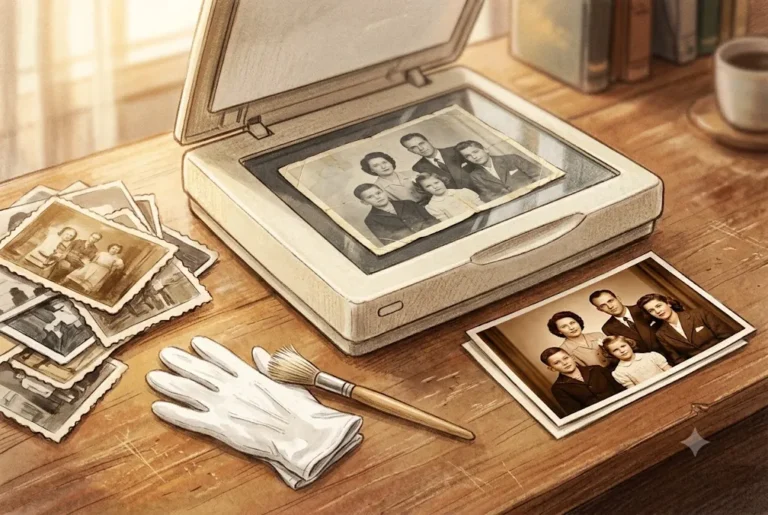
Somewhere in your home there is a steel trunk, a biscuit tin or a cloth-covered album with old family photos in it. Wedding prints with a deckled edge, a grandfather in a studio portrait, a school picture with a scribbled date on the back. They are fading a little each year, and the people who can tell you who is who are getting older too.
A photo book is one of the kindest ways to save them. But a book is printed from digital files, so the first job is to digitise your old family photos well. Done carelessly, you end up with blurry, glared, crooked scans that look worse than the originals. Done properly, the pictures come out clean enough to print on a full page.
This guide walks through the whole path: handling prints safely, choosing between a scanner and a phone, the dpi to use, naming files, light repairs, collecting captions from relatives and keeping the originals safe afterwards. When your scans are ready, Ragnar Studio's can turn them into a family photo book: you send the files on WhatsApp, the studio designs the pages, you approve them, and then it is professionally printed. Photo books start from ₹799 / $19.
Why digitise old family photos now
Prints do not last forever. Heat, damp, light and sticky albums slowly damage them, and Indian monsoon humidity is hard on paper. The Library of Congress names humidity as the most important factor for most prints, which is why a cupboard near a bathroom wall is a poor home for a wedding album.
The second reason is people. The faces in old family photos are only half the record. The other half is in the memory of an aunt, a grandfather or a family friend. Once a photo is scanned, you can show it to them, ask questions and write down the answers while they are still happy to talk.
The third reason is practical. A scan can be copied, shared with cousins abroad, restored and printed again. A single print in a trunk can be lost in one flood or one house move.
A good scanning project has five parts, and the sections below follow them in order:
- Sort and handle the prints safely.
- Scan them at the right quality.
- Name and date each file.
- Repair only what needs repair.
- Collect stories, then build the book.
Sort and handle your prints safely
Before you scan anything, spend an hour sorting. Clear a clean, dry table with no food or drink nearby. The Library of Congress advises handling prints with clean hands (or clean nitrile gloves), holding them by the edges and keeping fingers off the picture surface.
- Remove what harms. Take off paper clips and rubber bands. Do not peel tape, glue or sticky notes by force; if a print is stuck, scan it as it is and fix the file later.
- Do not rip photos out of old albums. Magnetic or sticky pages grip the print. If it will not lift easily, scan the whole album page, then crop the photo on screen.
- Write lightly. If you must label a print, use a soft pencil on the back near the edge. Avoid ball pens, which can press through or smudge.
- Keep negatives separate. If you find film negatives, keep them apart from prints and scan them differently, or ask a lab.
- Make three piles. Keep, maybe and skip. A book works best with a strong selection, not every photo ever taken. Our guide to choosing photos for a memory book helps with the final cut.
Handle one photo at a time and place scanned prints in a separate box so you know what is done. For your most precious prints, such as a damaged wedding portrait, do the scanning yourself rather than handing them over to a stranger.
Flatbed scanner or phone: which works best
Both can work. They suit different situations.
| Method | Best for | Watch out for |
|---|---|---|
| Flatbed scanner | Your best prints, small prints, anything you want enlarged | Slower; dust on the glass shows up in every scan |
| Phone scanning app | Large batches, fragile album pages, relatives who live far away | Glare, shadows and tilted angles; lower detail on tiny prints |
| Copy shop or scanning lab | Hundreds of prints, negatives, slides | Prints leave your hands; ask how they are handled and returned |
Flatbed scanners. A flatbed lays the print flat against glass with even light, which gives the sharpest and most consistent result. A basic home scanner or an all-in-one printer is enough. Clean the glass with a soft dry cloth first.
Phone scanning apps. Google PhotoScan, for example, guides you to move the phone over dots on the print, takes several shots and combines them to cut glare, and it also straightens and crops the picture. It is free and handy, but results depend on your light and steadiness. Place the print on a plain table near a window, not under a bulb, and keep your own shadow off it.
A sensible plan for many families: scan the 30 to 60 most important prints on a flatbed, and use a phone for the rest or for album pages you cannot remove.
The right dpi for scanning old family photos
Dpi (dots per inch) is how many pixels the scanner captures for each inch of the print. More dpi means more detail, up to the point where the print itself has no more detail to give.
Guidance varies. The Library of Congress digital preservation team has recommended 300 dpi for 4x8, 5x7 and 8x10 inch photos, and notes that the right setting depends on the original. Many scanning guides suggest 600 dpi for small prints you may enlarge. That is a sensible rule of thumb for family albums, and the file sizes are easy to handle.
| Original print | Suggested scan | Why |
|---|---|---|
| Small prints (3.5x5 or 4x6 inch) | 600 dpi | Gives enough pixels to fill a larger book page |
| 5x7 or 8x10 inch | 300 to 600 dpi | 300 is usually enough at the same size |
| Very small or passport-size prints | 800 to 1200 dpi | Needs extra pixels to be usable; expect softness |
| Album pages or large panoramas | 300 dpi | Keeps files manageable |
A quick check: a 4x6 inch print scanned at 600 dpi is 2400 x 3600 pixels. Printed at 300 dpi, that fills a page of about 8 x 12 inches, which covers a full A4 page comfortably. Scanning at higher than you need rarely helps, because a faded or soft print will not gain detail.
- Save a master copy as TIFF if you can, or as the highest-quality JPEG, and do your edits on a copy.
- Colour mode: scan black-and-white prints in colour too, or as 16-bit grayscale; colour mode preserves the warm tone of aged paper.
- Turn off auto-fix features that sharpen or boost colour. Edit later, deliberately.
If you want the printing side in detail, see our guide to print file preparation: bleed, CMYK and resolution.
Scans ready, or half-ready? Share your files and notes on WhatsApp and the studio designs the pages for you to approve. See personalised photo books from ₹799 / $19.
Name, date and organise your scans
This step feels dull and saves the most time later. A folder of files named IMG_0042 is hard to turn into a book. A folder where every file says who, where and when can be arranged in minutes.
Use a simple pattern, such as year_place_people_number. If you do not know the exact year, use the decade or a best guess with a question mark in your notes, not in the file name.
- 1968_Dehradun_Dada-Dadi_wedding_01.jpg
- 1985_Jaipur_Papa-and-Chacha_school_02.jpg
- circa1975_Mumbai_unknown-group_03.jpg
Keep a small notes sheet (a spreadsheet works well) with columns for file name, people, place, year, and a story. Write down what is on the back of each print, including studio stamps and handwriting, and scan the back too if it carries a date or a message.
Group the scans in folders by decade or by person. This is the skeleton of your book. For a deeper look at backups and structure, read our companion guide on organising and backing up photos before making a photo book.
Repair damaged prints without overdoing it
Repairs should help people see the photo, not turn it into a different one. Always work on a copy and keep the untouched scan.
- Straighten and crop so the edges are square, leaving a thin margin so you do not cut into the picture.
- Fix fading with the levels or auto-contrast tool. A little added contrast and a slight warmth correction often revives a pale print.
- Remove dust and small scratches with a spot-heal or clone tool in a free editor or a phone app.
- Treat cracks and tears by patching with nearby texture. Large missing areas, such as a torn face, are best left for a professional restorer; do not guess at a face.
- Leave natural ageing alone when it adds character, such as the cream tone of a sepia portrait. Over-cleaned photos look fake.
- Be careful with AI restoration tools. They can invent details, so a face may drift away from the real person. Compare the result to the original with a relative who knew them.
Not every picture needs repair. A slightly worn edge is part of the story, and in a family book, honest wear often feels warmer than perfection. Decide your standard early and apply it to the whole book so the pages look consistent.
If you are unsure about a damaged print, send us the scan and ask. The studio can advise on what is realistic; for repair options and anything about costs, ask on WhatsApp.
Interview relatives to caption your old family photos
A scan without a story is a picture. With a story, it becomes a page people read twice. The best captions for old family photos come from the people who were there, so sit with them, scrolling through scans on a tablet or laptop, and record the conversation on your phone (with their permission).
Try these questions:
- Who is standing next to you here, and how were you related?
- Where was this taken, and what was the occasion?
- What do you remember about that day: the weather, the food, a joke?
- What did people wear? Whose saree or sherwani was it?
- Who took the photo? Was it a studio or a neighbour?
- If you could tell one thing about this person to a child today, what would it be?
Note names exactly as the family says them, including nicknames, such as Bade Papa or Nani. If your relatives speak Hindi or another language, write their words in that language. Ragnar Studio's supports English and Hindi, so a caption can appear in either.
Keep captions short: a name, a year, a place and one line. Our lists of photo book caption ideas and what to write in a memory book give wording you can adapt.
Example: "1972, Haridwar. Dada ji with his brothers on the day of Chacha's thread ceremony. He kept that checked shirt for twenty years."
Plan the book: how to arrange the photos
Once your files are named and your notes are written, the structure of the book almost appears by itself. Three layouts work well for old family photos:
- By time. Start with the oldest generation and move forward. Good for a grandparents' or a whole-family story.
- By person. One chapter for each elder, ending with their grandchildren. Good when branches of the family hold different photos.
- By theme. Weddings, festivals, school days, journeys. Good for a gift with a clear mood.
A simple page plan for a 40-page book might be: a title page and a short family tree (2 pages), four chapters of eight pages each, and a final page with a message to the next generation. Mix single full-page portraits with pages of three or four smaller photos so the book has rhythm. If you are unsure how many to use, our guide on how many photos to put in a photo book gives a practical range, and photo book layout tips cover spacing and balance.
Put black-and-white and colour pictures on separate spreads where you can, or mix them with intention. A colour photo next to a sepia portrait can look jarring if there is no logic to the order.
If you want help, Ragnar Studio's designs the pages from the scans and your notes. For ideas by theme, see family photo book ideas and captions.
Preserve the originals and back up your scans
Scanning does not replace the originals. Keep them, and keep them well. Following the Library of Congress guidance, store prints in photo-safe paper or plastic enclosures and boxes, in a cool, dry spot with stable conditions. Avoid attics, basements, exterior walls, and anywhere near a heater, vent or fireplace. Avoid albums with coloured, magnetic or self-adhesive pages.
In most Indian homes, a plain cupboard in a living room that stays dry is better than a trunk under the bed in a damp room. Add silica gel packs in the monsoon and check them. Keep light low; do not hang unframed originals in sunlight.
For the digital side, follow the simple rule of three copies: one on your computer, one on an external drive, and one in the cloud or with a relative in another city. Name the folder clearly, such as Family-Archive-Masters, and never edit the masters.
| Item | Where to keep it |
|---|---|
| Original prints | Photo-safe boxes in a cool, dry cupboard |
| Master scans | Computer plus an external drive plus a cloud copy |
| Edited copies for the book | A separate folder, sent to the studio |
| Notes and interviews | Same folder as the scans, and a printed copy |
Share the scans with cousins. The more copies that exist, the safer they are.
Common mistakes when scanning prints
- Sending WhatsApp copies instead of originals. WhatsApp shrinks photos. Send the scanned file as a document, or share it by a link. Our guide to making a photo book from phone photos and WhatsApp pictures explains how.
- Photographing prints at an angle. This causes tilt and shadows. Hold the phone parallel to the table.
- Scanning too low. A 72 dpi scan of a small print will look pixelated when it fills a page.
- Cleaning with water or sprays. Moisture can lift the emulsion. Use a dry soft cloth or a blower for dust only.
- Over-editing. Heavy filters and smoothing make elders look unlike themselves.
- Skipping the backs. The handwriting on the back is often the only record of a date.
- Waiting. The best moment to ask a grandparent about a photograph is this week.
Treat the project as several short sessions, not one marathon. An hour of scanning, followed by a chai and a story, is more enjoyable and gets better results than a rushed Sunday.
Turn old family photos into a gift
A book of old family photos makes one of the most personal gifts you can give, for grandparents, parents, in-laws or a milestone anniversary. It suits Diwali, birthdays, a 60th or 75th, and family reunions. Browse the studio's photo book gift for grandparents page, the photo books for parents page, or the full personalised photo books range. For more ideas, see our gift guides.
Plan ahead. Scanning, interviewing and sorting can take a few weeks for a large collection, so begin early if the book is for a date. Every book is A4. For timing, paper options and delivery, ask the studio on WhatsApp +91 92865 18510.
When you are ready, send the scanned files with your notes and captions. Ragnar Studio's designs the pages, you review and approve them, and then the book is professionally printed.
Frequently asked questions
What is the best dpi to scan old family photos?
For most small prints, 600 dpi is a safe choice, and 300 dpi is enough for larger prints such as 8x10 inch. The Library of Congress has suggested 300 dpi for 4x8, 5x7 and 8x10 inch photos. Scanning old family photos much higher rarely adds detail.
Can I use my phone to scan old family photos for a book?
Yes, if you use good light and keep the phone flat above the print. Apps such as Google PhotoScan reduce glare by combining several shots. For your most important prints, a flatbed scanner will give a sharper result.
How do I scan old photos that are stuck in an album?
Do not force them out. Scan the whole album page on a flatbed or photograph it flat in even light, then crop each picture on screen. Prints in sticky or magnetic albums can tear if lifted.
How should I store old family photos after scanning?
Keep the originals in photo-safe boxes or enclosures in a cool, dry place away from attics, basements and heaters. Keep scans in three places: your computer, an external drive and the cloud or a relative's device.
Should I restore old family photos before printing a book?
Do light repairs only: straighten, fix fading, and remove dust and small scratches. Leave natural ageing, and be cautious with AI tools that may change faces. Always keep the untouched scan.
How do I find out who is in old family photos?
Show the scans to older relatives and record their answers. Check the back of each print for names and dates, and ask who took the photo. Compare several pictures from the same event to identify people.
How many old family photos should go in a photo book?
It depends on the page count, but quality matters more than quantity. See our guide on how many photos to use in a photo book. For old family photos, a clear selection with captions beats a crowded page.
How can Ragnar Studio's help with old family photos?
Send your scanned old family photos and notes on WhatsApp, and the studio designs the pages, shares them for your approval and then arranges professional printing. Photo books start from ₹799 / $19. For options and timing, ask on WhatsApp.
Your old family photos hold faces and stories that will not come again. Scan them gently, note who is who while your elders can still tell you, and turn them into a book the whole family can open. When your files are ready, start a family photo book with Ragnar Studio's on WhatsApp.
Start your book
Tell us your story.
Build your enquiry here, then send it in WhatsApp. We’ll discuss the design, final price and delivery before you order.
- Choose a page count and occasion
- Add as much or as little story as you like
- Send photos in the same WhatsApp chat
- 1Book
- 2For
- 3Story
- 4Photos
- 5You
- 6Review
To create a book, contact us on WhatsApp or email info@ragnarstudio.com. The step-by-step form needs JavaScript.
Almost there
Your enquiry is ready to send.
Open WhatsApp, review the message and press Send. Share your selected photos in the same chat.
Keep reading.
More ideas and guides from Ragnar Studio's.
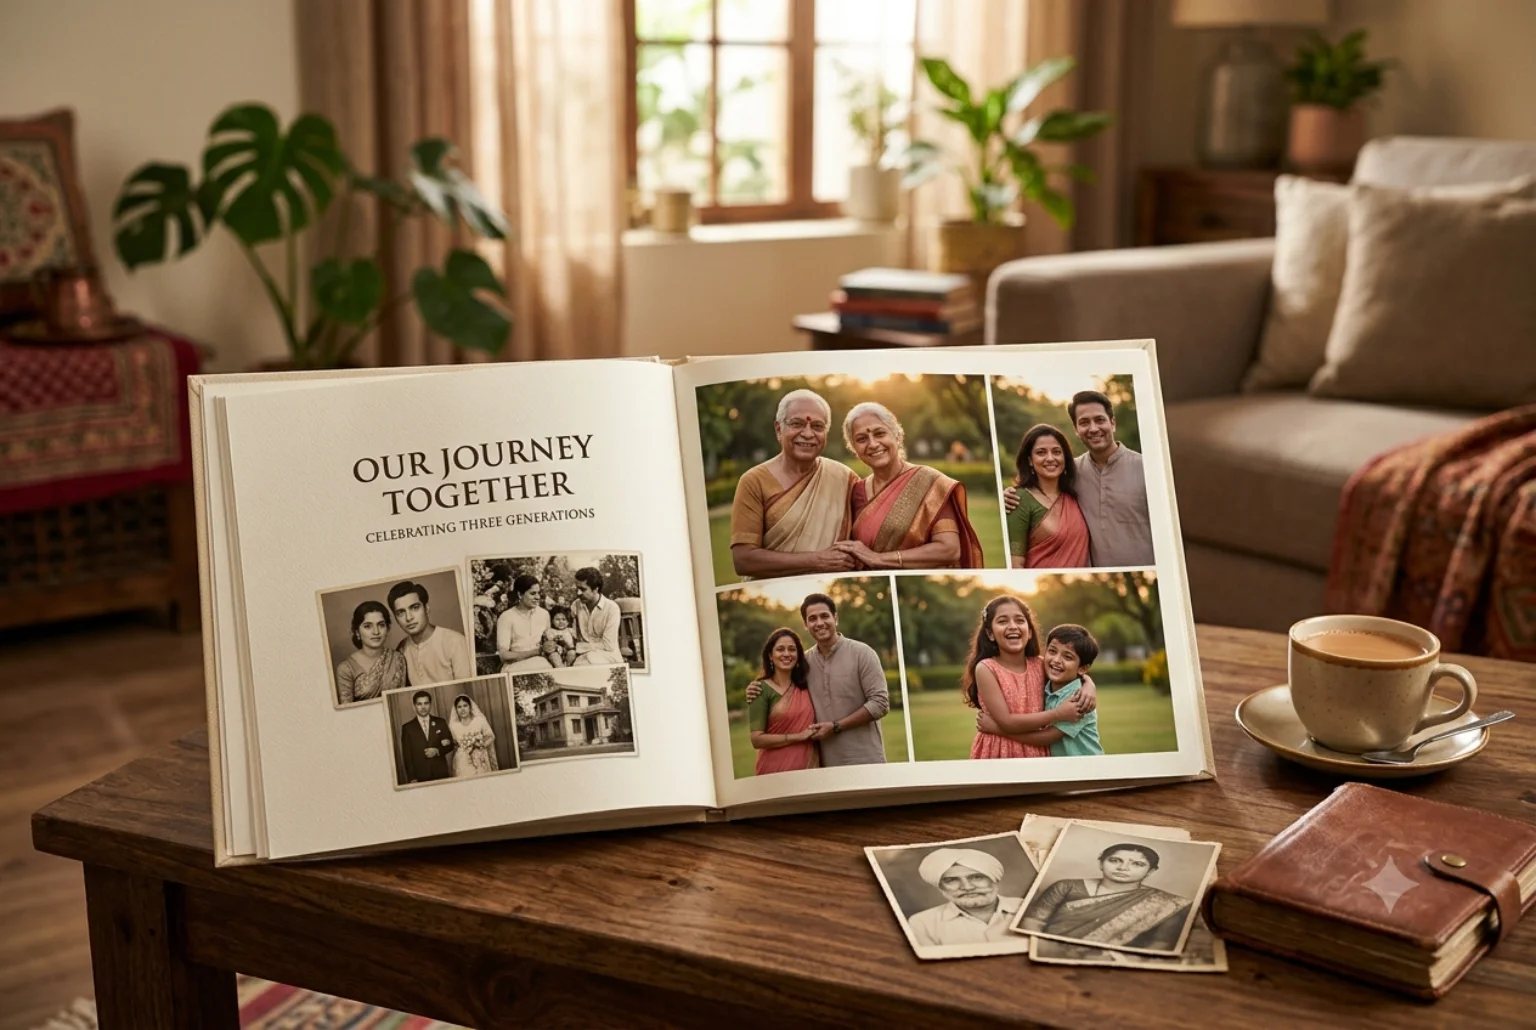 Photo book guideFamily Photo Book Ideas, Captions and LayoutsThemes, chapter ideas and caption wording for a family photo book that your relatives will actually want to read.Read the guide →
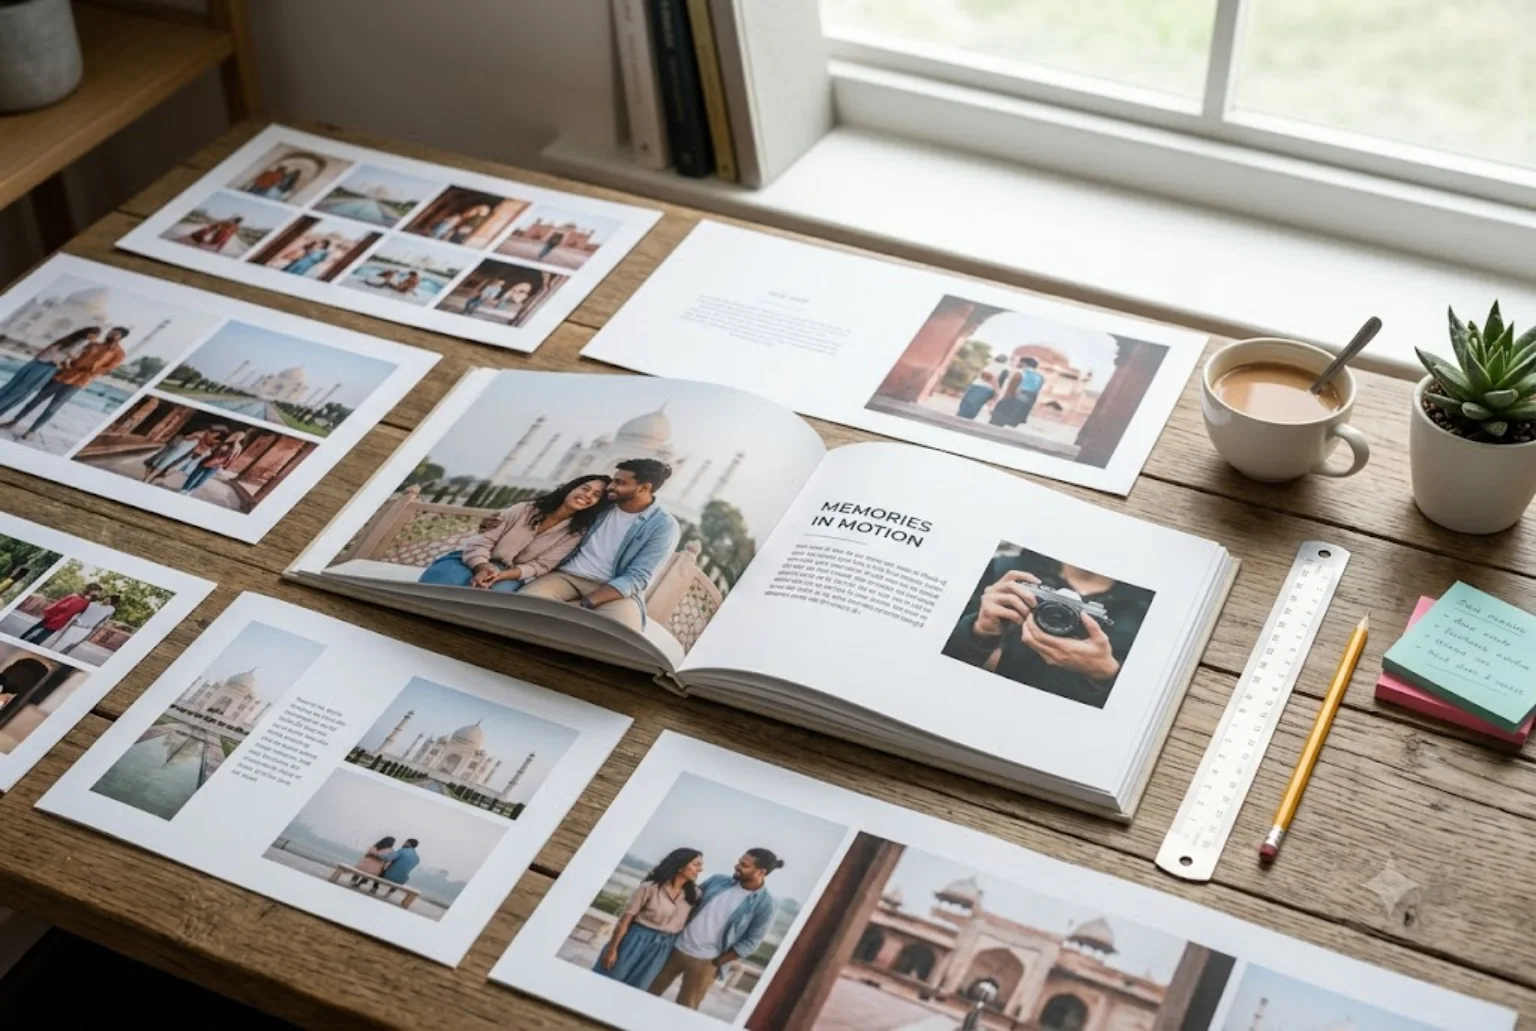 Photo book guidePhoto Book Layout Ideas: Design Tips for a Book People Actually FinishSimple layout rules for spacing, balance and photo sizes so every page of your photo book looks tidy.Read the guide →
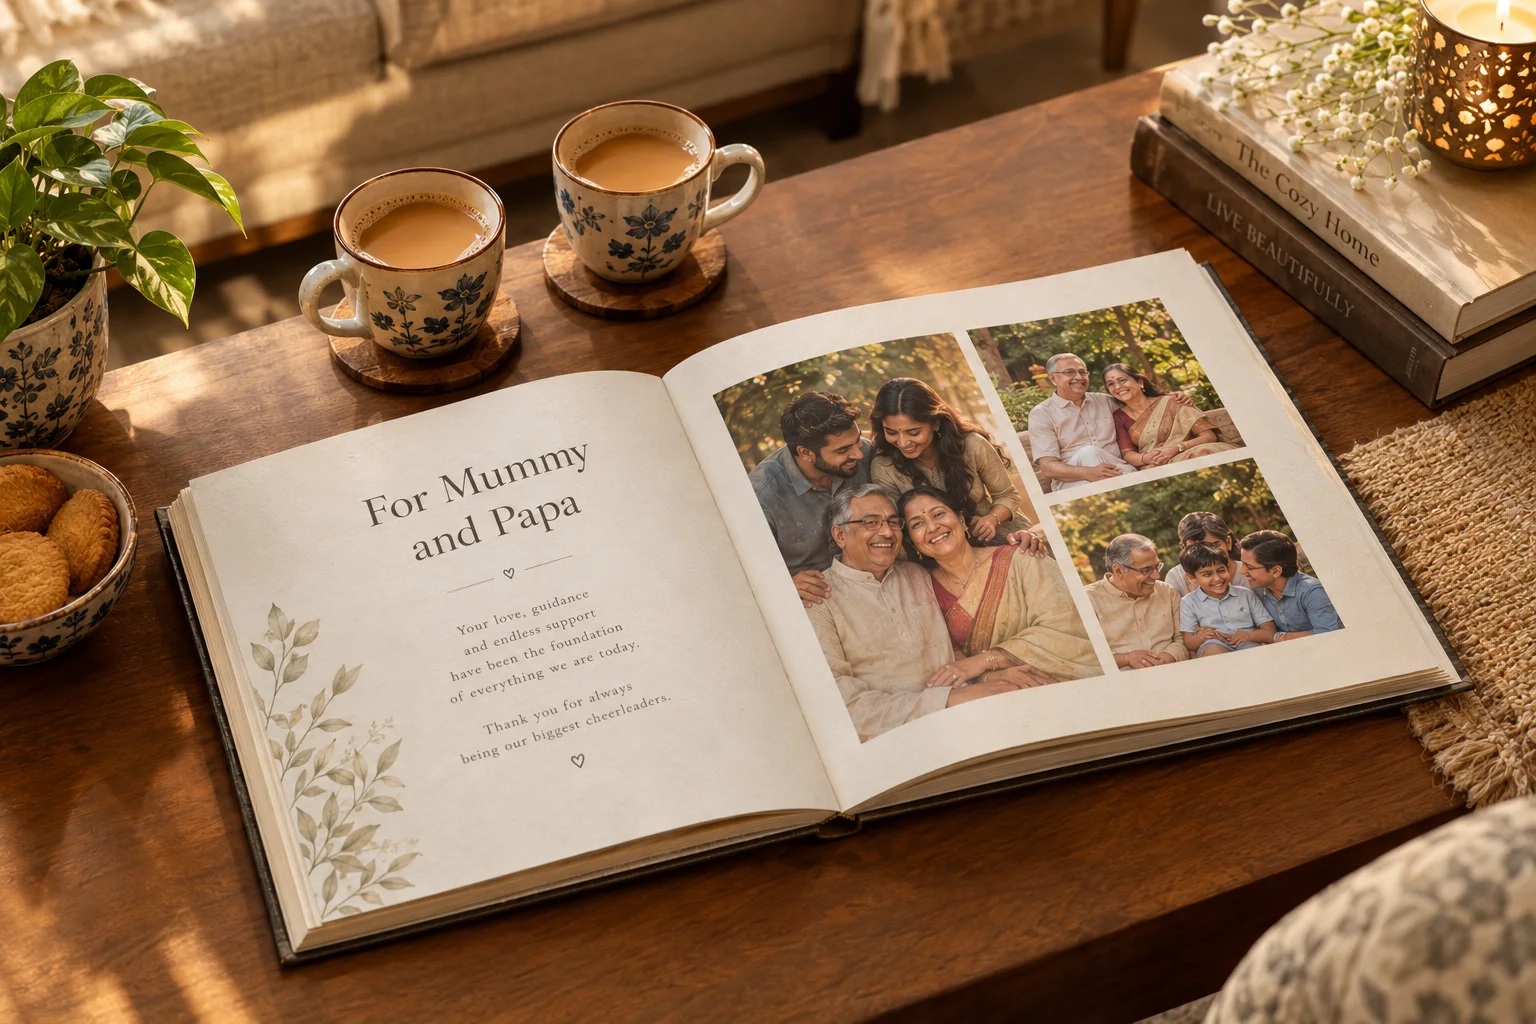 Photo book guideUnique Gifts for Parents Who Have Everything: Ideas by BudgetThoughtful gift ideas for parents who already have everything, with a personal photo book near the top.Read the guide →
Turn your photos into a book worth keeping.
Share your photographs and a few lines. The studio will design the pages, you approve them, and it is professionally printed. Books start at ₹799 / $19.