
Home / Blog / Book Cover Design for Self-Publishing in India: Sizes, Spine
Design & BrandingBook Cover Design for Self-Publishing in India: Sizes, Spine and Print Specs
A print cover is one flat file that wraps the whole book. Here is how trim size, bleed, spine width and barcode space fit together, so your cover prints without nasty surprises. This guide on book cover design covers the parts of a print book cover, choose your trim size first and bleed and safe area.
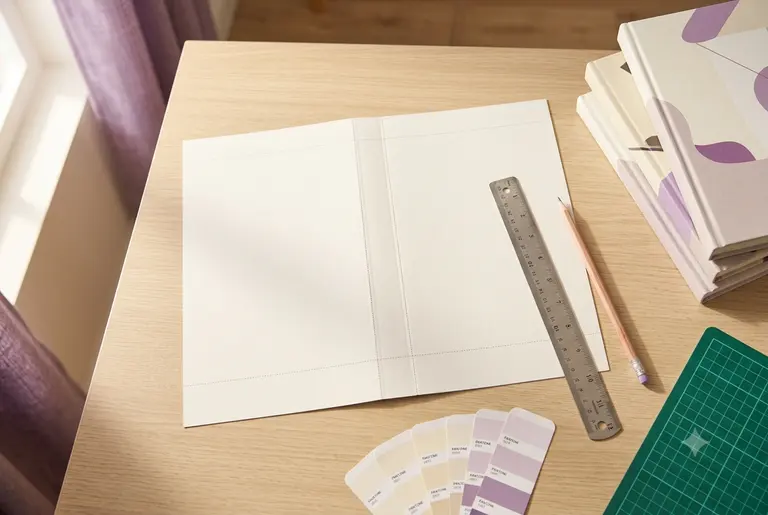
If you are self-publishing a book in India, the cover is where many first-time authors hit trouble. The words and story are ready, but the printer asks for a "full wrap PDF with bleed and spine", and suddenly there are measurements, formulas and rules nobody explained. A cover that looks fine on screen can come back from print with the spine text off-centre or a white line along the edge.
This guide explains the parts of a print book cover in plain language and what to ask your printer or platform before design begins. Exact numbers differ between printers and platforms, so treat the values here as examples and always follow the specification sheet or template you are given.
Related reading and services: book cover design services, how to brief a graphic designer, Canva vs a professional designer and logo file formats explained.
Key takeaways
- A paperback cover prints as one flat sheet that wraps the pages, with a front, spine and back.
- Choose your trim size first, because every other measurement depends on it.
- Add bleed and keep text inside the safe area so trimming does not cut it.
- Spine width depends on the page count and paper thickness, so finalise both first.
- Confirm trim size, page count, paper and binding with your printer before you send files.
The parts of a print book cover
A paperback cover is printed as one flat sheet that wraps around the pages. Laid flat, from left to right, it holds the back cover, the spine and the front cover. Hardcovers add extra areas that wrap around the boards, so the printer’s template matters even more.
- Front cover: title, subtitle, author name and the main image.
- Spine: the narrow strip that shows when the book is on a shelf. It usually carries the title and author name.
- Back cover: blurb, short author bio, reviews or quotes, and space for the barcode.
- Bleed: extra artwork that extends past the trim line, so trimming never leaves a white edge.
- Safe area: a margin inside the trim line where important text should stay.
Choose your trim size first
Trim size is the final size of the book after trimming, such as the width and height of one page. Everything else on the cover depends on it, so decide it before design starts. Changing the trim size later means rebuilding the cover.
Common choices for novels and general books are around 5 x 8 inches, 5.5 x 8.5 inches and 6 x 9 inches, while A5 is popular in India. Workbooks, textbooks and photo-heavy books are often larger. Your printer or platform will list the sizes it offers, and some sizes are available only in certain paper or binding options.
| Decision | Why it matters for the cover |
|---|---|
| Trim size | Sets the width and height of the front and back panels |
| Page count | Affects spine width and whether spine text will fit |
| Paper type and thickness | Thicker paper makes a thicker spine for the same page count |
| Binding | Paperback and hardcover use different cover templates |
| Platform or printer | Each has its own template, bleed and barcode rules |
Bleed and safe area
Printing and trimming are not perfectly exact. If a background colour stops exactly at the edge of the page, a tiny shift in trimming can leave a thin white line. Bleed solves this by extending the background past the final edge, and the printer cuts away the extra.
The amount of bleed depends on the printer. Many ask for a few millimetres, and some platforms specify it in fractions of an inch. Do not guess. Use the number in the printer’s specification, and keep important text and faces well inside the safe area so nothing gets trimmed or sits too close to the fold.
Want this done for you? Ragnar Studio's handles Book Cover Design. See how it works or get a free quote.
How spine width is worked out
The spine width depends on how many pages the book has and how thick the paper is. More pages or thicker paper mean a wider spine. Because of this, you must know the final page count before the full wrap can be finished.
Do not estimate it by eye. Most printers and print-on-demand platforms give a spine width calculator or a template that already includes the right measurements for your page count and paper. Enter your numbers, download the template and design inside it.
- Finish editing and interior layout first, so the page count is final.
- Use the printer’s calculator or template for the exact spine width.
- If you add or remove pages later, the spine width changes and the cover file must be updated.
- Very thin books often have a spine too narrow for readable text. Platforms set their own minimums, so check before putting text there.
Keep spine text centred and leave a little space on either side. Small printing shifts are normal, and a tight spine design shows every shift.
Barcode, ISBN and the back cover
Books sold through shops and online platforms usually carry an ISBN, which is a number that identifies a specific edition. The barcode on the back cover is generated from it. The ISBN is assigned to the publisher or author, or provided by a platform, and a designer does not create it for you.
Leave a clear, correctly sized space on the back cover for the barcode, usually on a plain light background so it scans well. Some platforms add the barcode for you in a set position, so ask which option you are using before design.
- Put the blurb first. It should be short, clear and written for the reader, not for you.
- Add a brief author line and, if you wish, a photo.
- Use real reviews only, with permission.
- Keep text comfortably large and away from the edges and the spine fold.
Resolution, colour and file format
Print images need much more detail than screen images. Images are commonly prepared at about 300 pixels per inch at their final printed size, which means a picture that looks sharp on screen can print soft if it is too small. Always start from the highest quality image you can get.
Screens use RGB colour, while printing uses CMYK inks, so some bright screen colours, especially vivid blues and greens, look duller on paper. Ask your printer whether they want RGB or CMYK files and whether they supply a colour profile. When possible, order a proof copy before printing a full batch.
- Ask whether the printer wants a single print-ready PDF for the full wrap.
- Embed or outline fonts so the text does not change when the file is opened elsewhere.
- Check that images are high resolution at their final printed size.
- Look at a physical proof, because screens never match paper exactly.
The ebook cover is a different job
An ebook cover is a single front image with no spine, back or bleed. It is mostly seen as a small thumbnail on a phone or in a store listing, so the title must stay readable at small size. Each platform publishes its own recommended image proportions and minimum size, with taller than wide rectangles being the norm.
- Use a short, bold title and keep the subtitle small or leave it out of the image.
- Check the cover at thumbnail size on a real phone.
- Avoid fine details and thin type that disappear when shrunk.
- Follow the exact size and file type your platform asks for.
If you also plan a paperback, design the front cover so it works for both, then extend it to a full wrap once the page count is final.
Common mistakes that cause reprints
- Designing the cover before the page count is final, then guessing the spine.
- Leaving no bleed, which can show a white edge after trimming.
- Placing text too close to the edge or the fold.
- Using low resolution images that print blurry.
- Forgetting the barcode space, or putting it over a busy image.
- Not checking the spelling of the title, author name and blurb.
- Skipping a proof copy and discovering colour problems after the whole batch is printed.
A pre-print checklist
- Final trim size, page count, paper and binding are confirmed with the printer or platform.
- You have the printer’s template or calculator values for the spine width.
- Bleed is set to the printer’s required amount.
- Important text sits inside the safe area, with the spine text centred.
- The barcode area is clear, correctly sized and on a plain background.
- All images are high resolution and fonts are embedded or outlined.
- Spelling is checked on the front, spine and back.
- You have ordered or seen a proof copy.
When to do it yourself and when to get help
If you have a simple ebook and some design confidence, a good template can work. For a print wrap, hardcover, a series or a book you want to sell widely, a professional who sets up the file to your printer’s specification saves you from costly reprints. A designer can also advise on genre, so the cover signals the right thing to the right reader.
Whichever route you choose, share your trim size, page count, paper and platform at the start. Those four details prevent most of the problems described above.
Frequently asked questions
What size should a self-published book cover be?
It depends on your trim size, page count and paper, so there is no single answer. A print cover is a full wrap that includes the back, spine and front plus bleed. Use the template or calculator from your printer or platform to get exact measurements. For a straight answer on book cover design, send us a short WhatsApp message with your goal and budget.
How do I calculate spine width?
Spine width depends on the page count and the paper thickness. Printers and print-on-demand platforms usually provide a calculator or template that gives the exact figure. Finish your interior first so the page count is final, then enter it before designing the cover.
What is bleed on a book cover?
Bleed is extra artwork that extends past the final trim edge so that trimming never leaves a white line. The required amount differs between printers, so follow their specification and keep important text inside the safe area.
Do I need an ISBN and barcode for my book?
Books sold through shops and many online platforms usually need an ISBN, and the barcode is generated from it. The number is issued to the publisher or author, or provided by a platform. A designer leaves space for the barcode but does not create the ISBN.
What resolution should book cover images be?
Print images are commonly prepared at around 300 pixels per inch at their final size. Smaller or low quality images can print soft. Start with the highest quality image available and check what your printer asks for.
Is RGB or CMYK better for a book cover?
Printers use CMYK inks, while screens use RGB, so some bright colours look duller on paper. Some printers accept RGB and convert it, while others want CMYK. Ask your printer, and order a proof copy to check colours.
Can I use the same cover for the ebook and the paperback?
The front cover design can be shared, but the files differ. An ebook cover is a single front image sized for stores, while a paperback needs a full wrap with spine, back and bleed. Design the front first, then extend it once the page count is final.
Should I order a proof copy before printing?
Yes, when possible. Colours, trimming and spine alignment can look different on paper than on screen. A single proof copy often costs far less than reprinting a batch with a mistake, so it is a sensible check before a larger order.
Need a cover that is set up correctly for your printer or platform? Tell us about your book and we will quote for book cover design.
Free quote
Tell us about your project
Fill this short form and send it on WhatsApp. We reply with questions or a quote. Nothing is charged on the website.
- Takes about two minutes
- Goes straight to Ragnar Studio's on WhatsApp
- Prefer email? Write to info@ragnarstudio.com
Related services.
Book Cover Design
Ragnar Studio's designs front covers, full print wraps and ebook covers, set up to your printer or platform.
Explore →Brochure and Catalogue Design
Ragnar Studio's designs brochures and catalogues that are clear to read and ready to print.
Explore →Graphic Design Services
Ragnar Studio's designs logos, print material and social creatives for Indian businesses.
Explore →Ready to start your project?
Tell us what you need. We reply on WhatsApp with questions, next steps and a quote.